How to add a tripod cap to 360 degree images in Photoshop

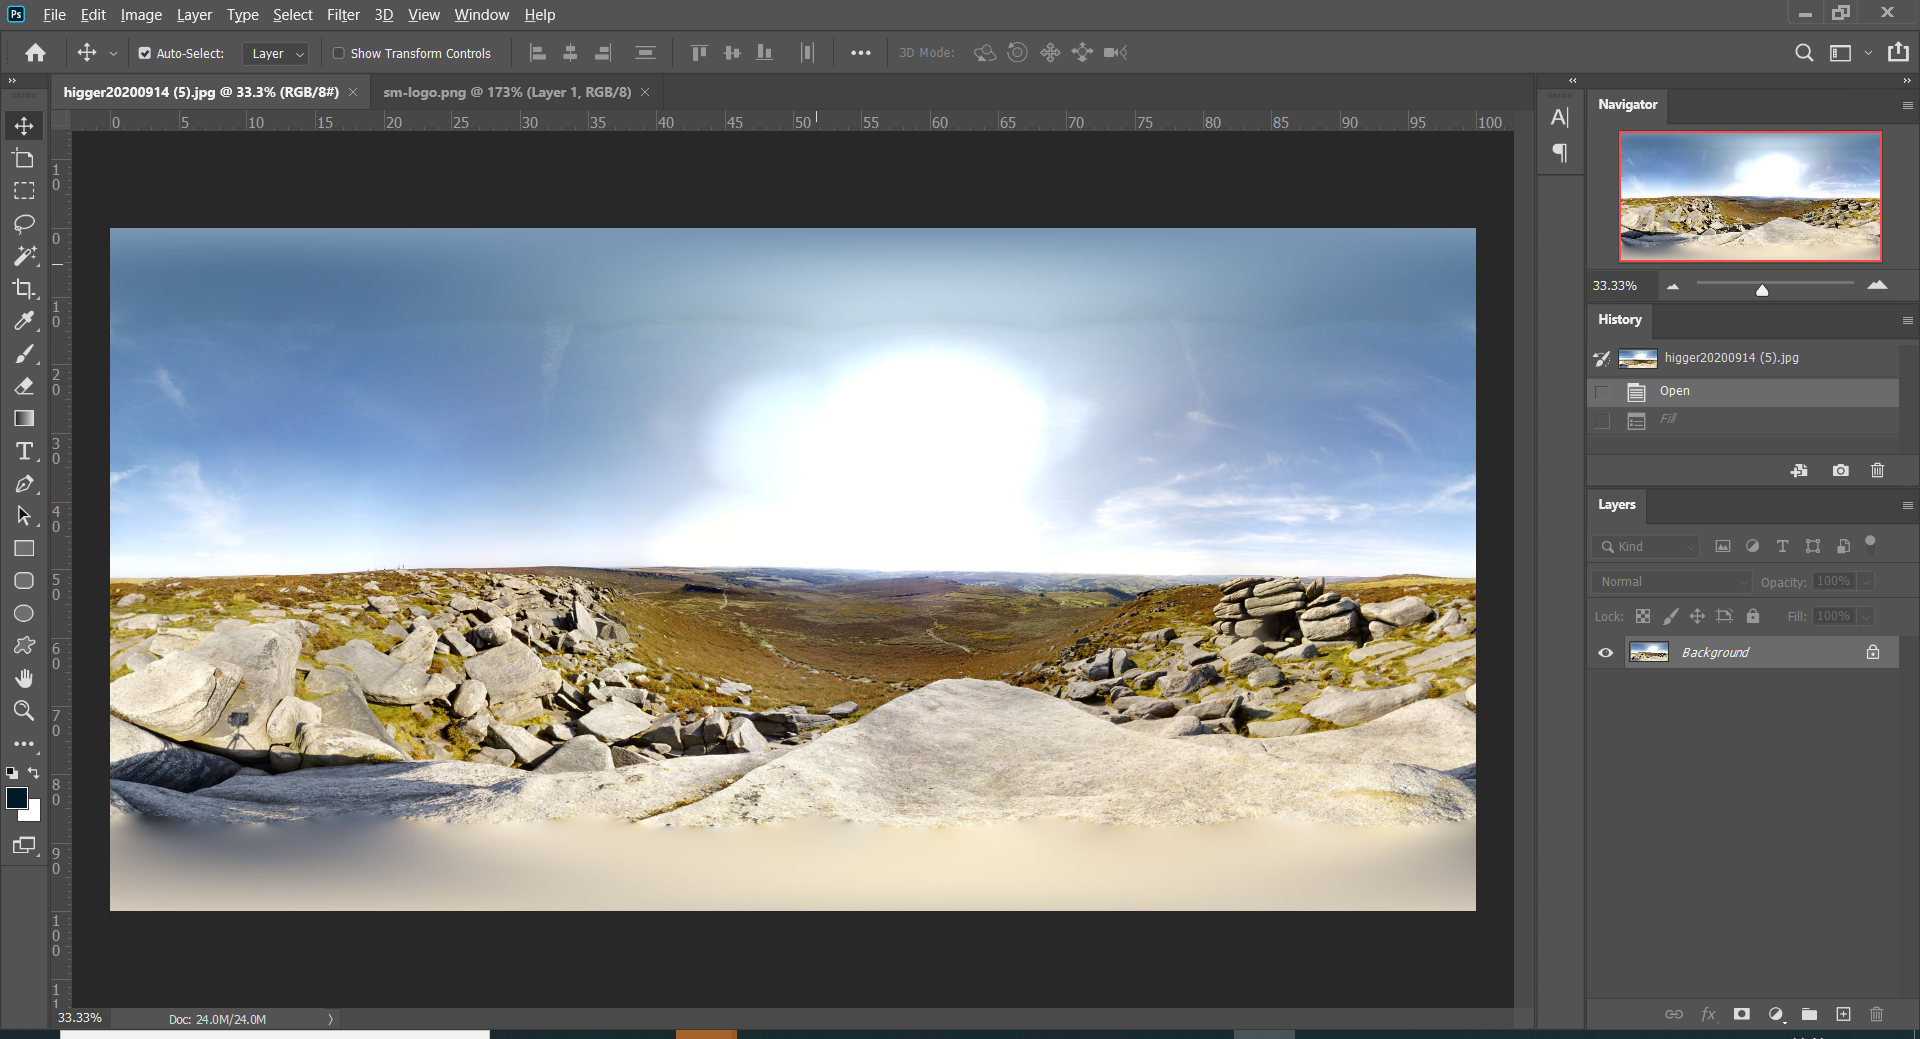
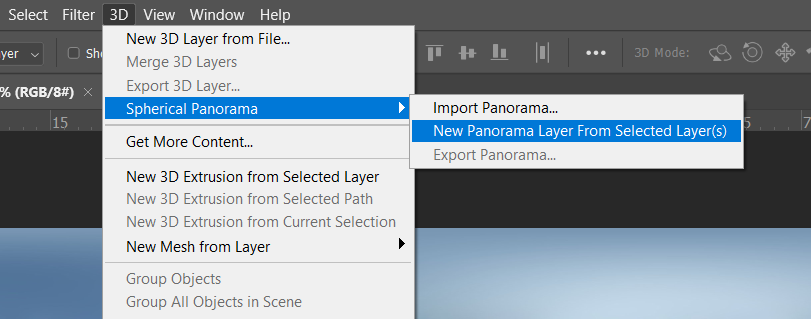
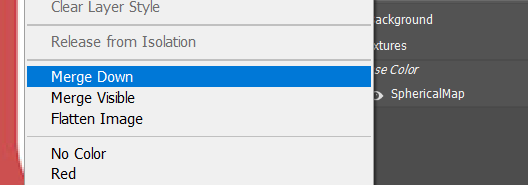
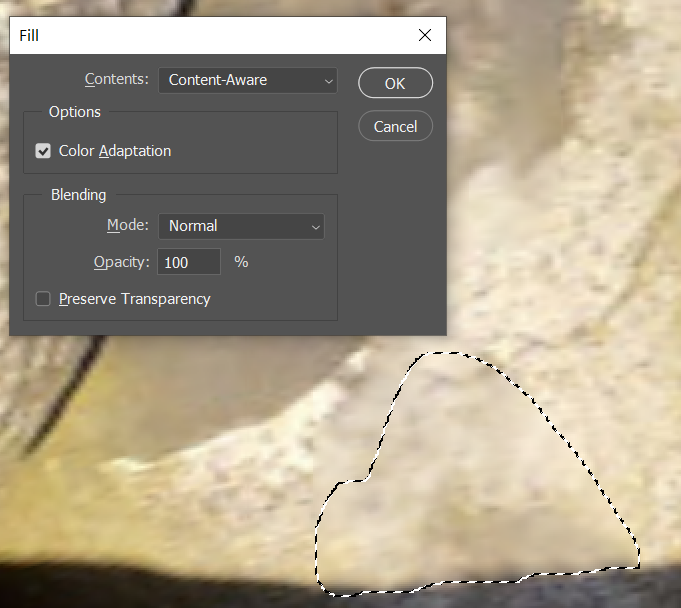
Adding a tripod cap to 360 degree images using Photoshop is very quick and simple in the newer versions of Photoshop. There’s great support for things like panoramas, spherical images and 3D. This is a quick tutorial on how to add a tripod cap to a 360 degree image:

Create your tripod cap - usually a circular image with a transparent background. In the following example, the image was around 1500px square
1. Create your tripod cap – usually a circular image with a transparent background. In the following example, the image was around 1500px square
Open one of your 360 degree images in Photoshop
2. Open one of your 360 degree images in Photoshop
Go to the 3D options and choose Spherical panorama > new panorama from layer
3. Go to the 3D options and choose Spherical panorama > new panorama from layer
Set guides 50% / 50% then move the view so you're looking directly at the nadir
4. Set guides 50% / 50% then move the view so you’re looking directly at the nadir
Add tripod cap image to cover anything you need to
5. Add tripod cap image to cover anything you need to
Right-click the tripod layer and select 'merge down'
6. Right-click the tripod layer and select ‘merge down’
Remove anything you don't want to see such as shadows or people
7. Remove anything you don’t want to see such as shadows or people
From the 3D menu select Spherical panorama > export panorama
8. From the 3D menu select Spherical panorama > export panorama

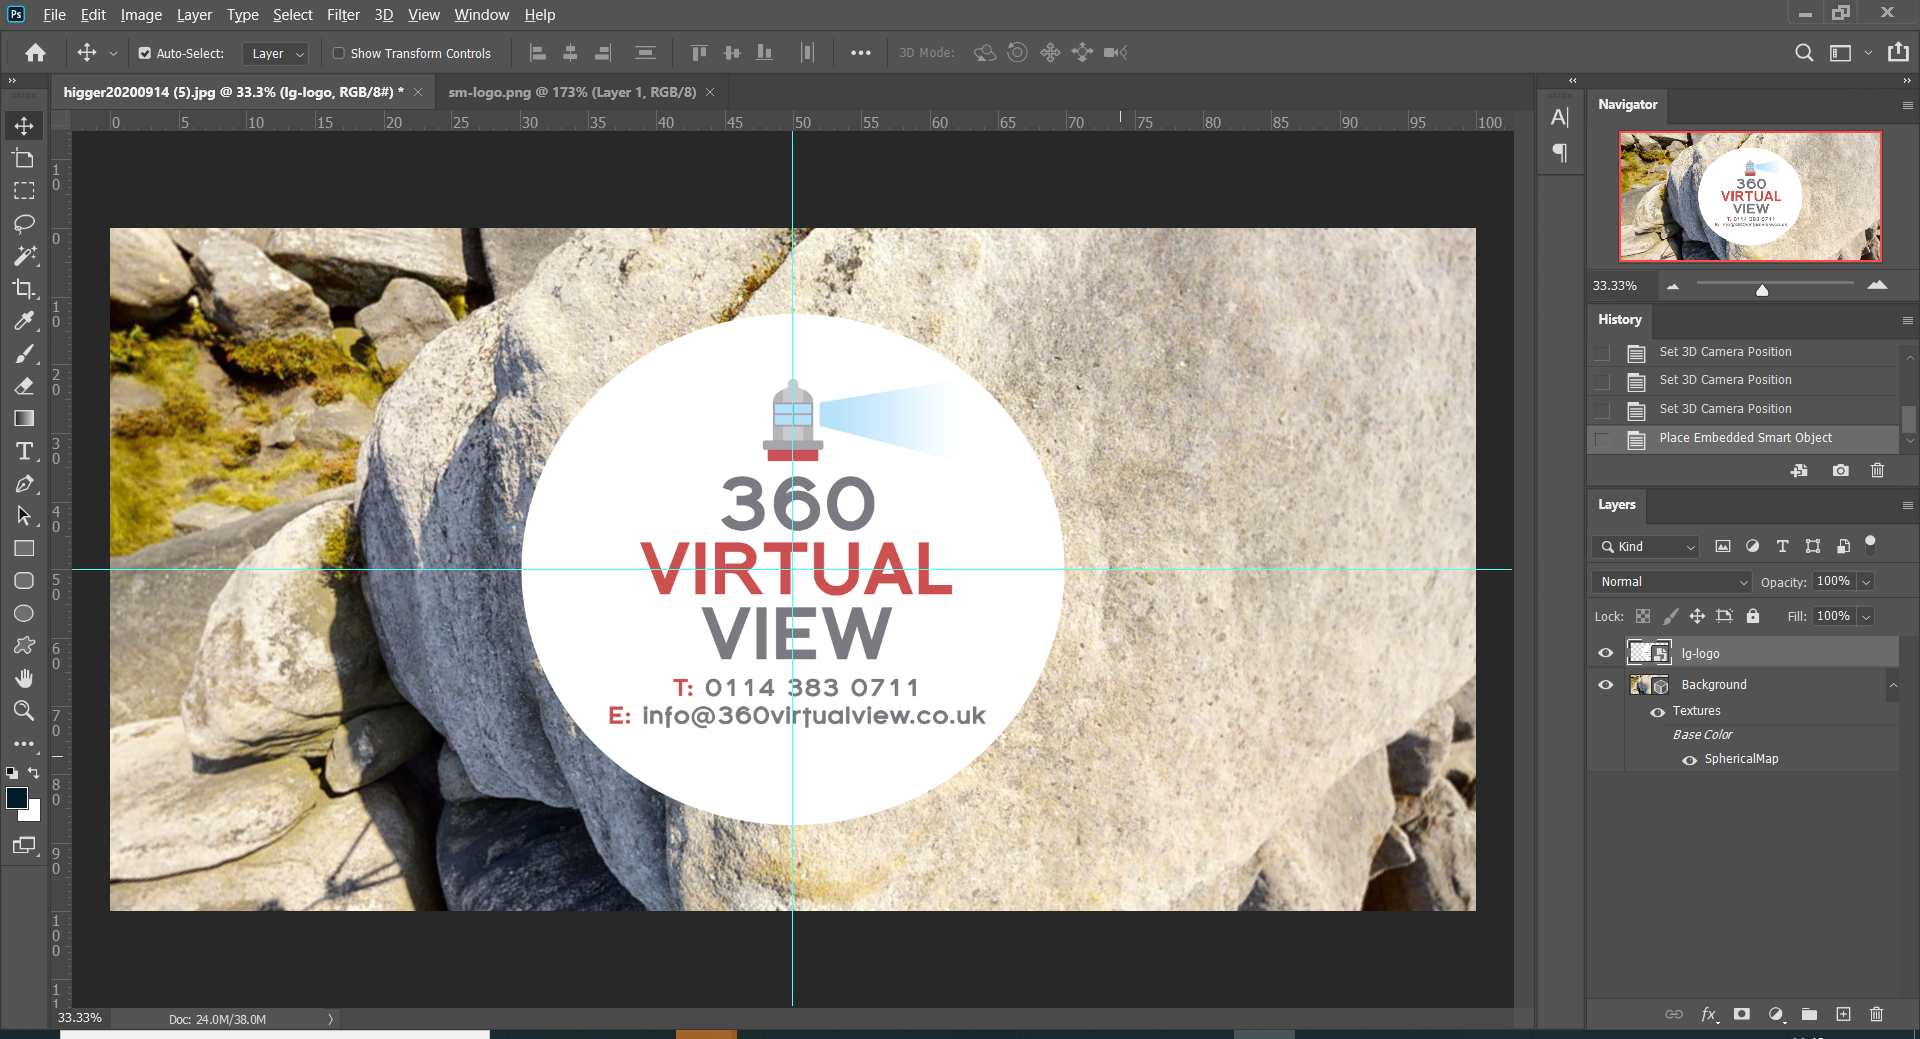
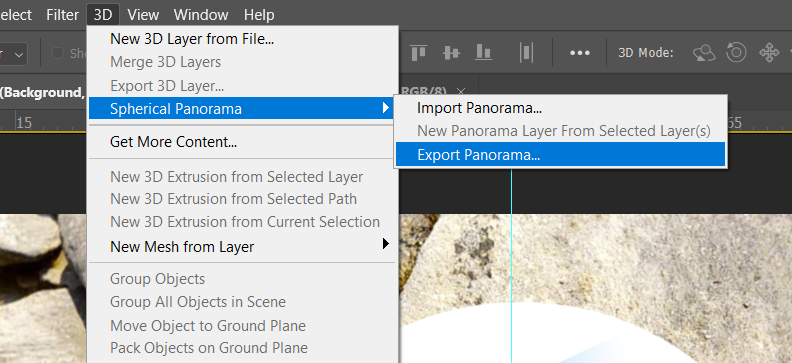
Done! Now you add your image to sites like Facebook (well supported) or your WordPress hosted blog (well supported)

Christophe

Leave a Comment