Resources
- Adding your virtual tour to your website. Find out about embedding and sending your tour along with some useful tips
- A version of your virtual tour can be included directly within Google. Find out more about adding your virtual tour to Google Street View, Google Maps, Google Search, Google Earth & Google Images
- Navigating your virtual tour – I find the best way is on a desktop computer using the arrow keys. Read more about navigating your virtual tour on different devices
- Here is a list of some advanced URL parameters you can use to modify the tour using queries
Virtual tour example with explanation of basic controls below
Press ‘play’ to start
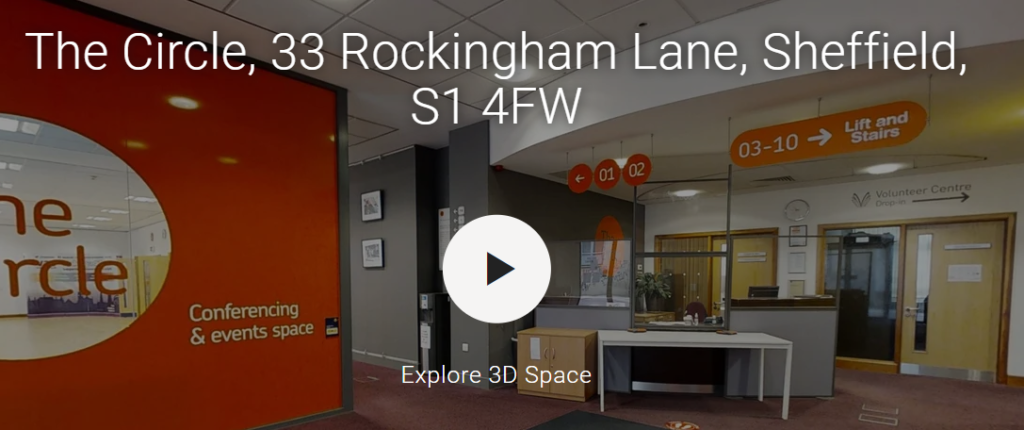
Top-left corner: Options are 1. display everything (title, address, URL, contact information & summary), 2. display only title, summary and URL, 3. turn off this feature

Bottom-left corner from left to right: Guided tour start (if enabled), ‘doll’s house’ view (if enabled), ‘floor plan’ view (if enabled), floor selector (if enabled and your space has more than one floor)

Bottom-right corner from left to right: Direct sharing options, virtual reality version, view in full-screen

Virtual tour start point
The ‘start point’ is the first view when the tour starts. This can be any view within the virtual tour.
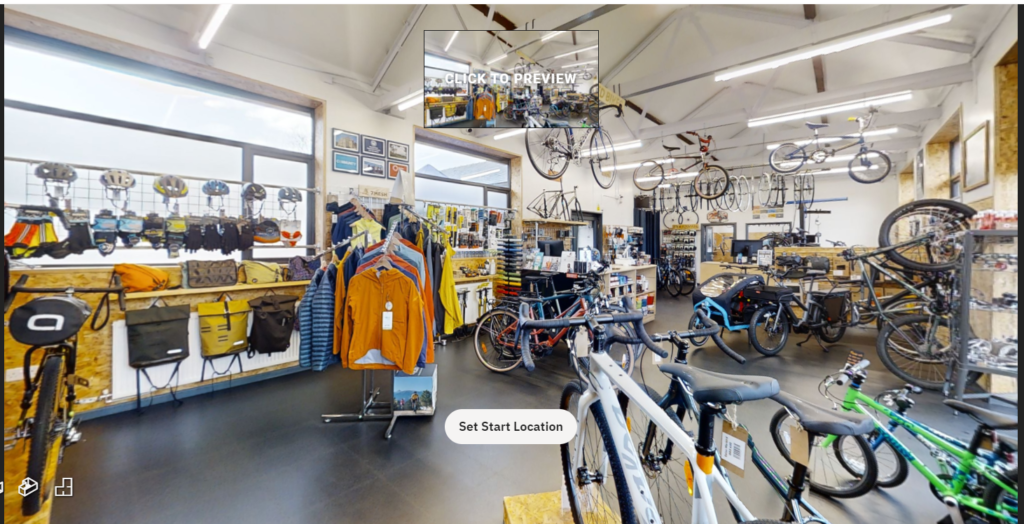
Doll’s House view
The ‘Doll’s House’ view is the 3D view of the whole area. This can be disabled within the virtual tour
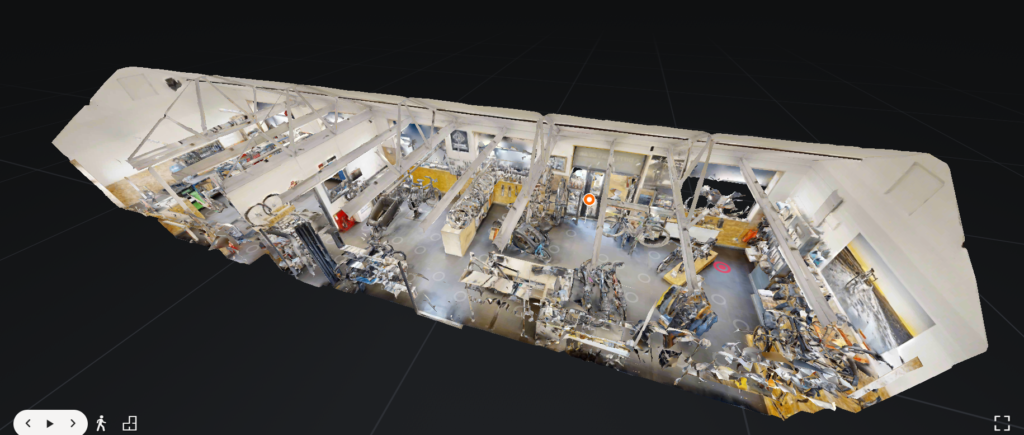
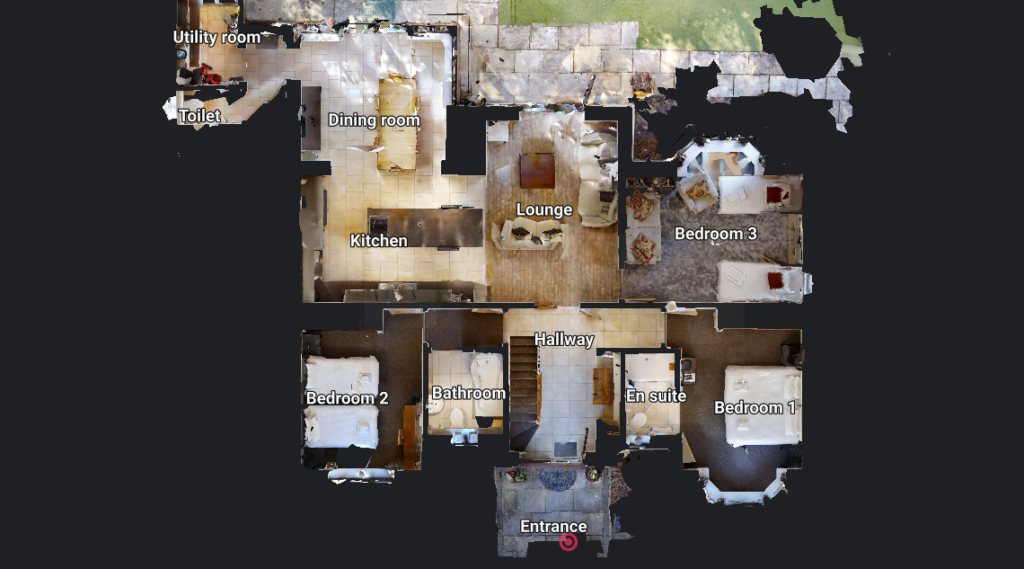
Floor plan view
The ‘floor plan’ view can be disabled if required (see also ‘labels’)
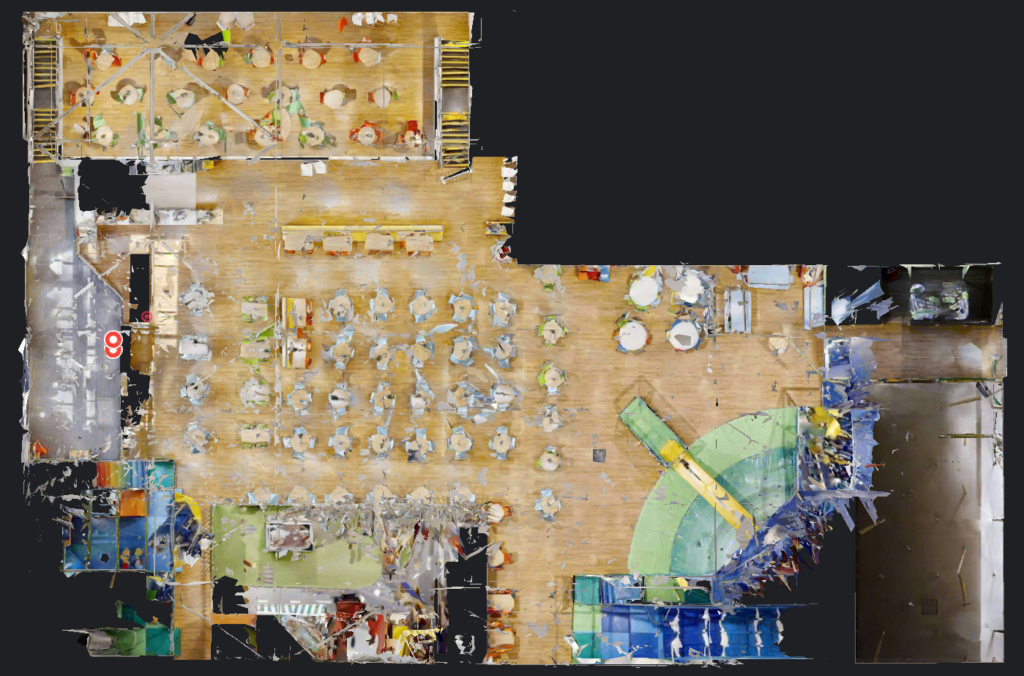
Area labels
Labels or descriptions can be added to individual areas. Labels only appear on the ‘plan’ view – they are similar to a schematic floor plan from an estate agent
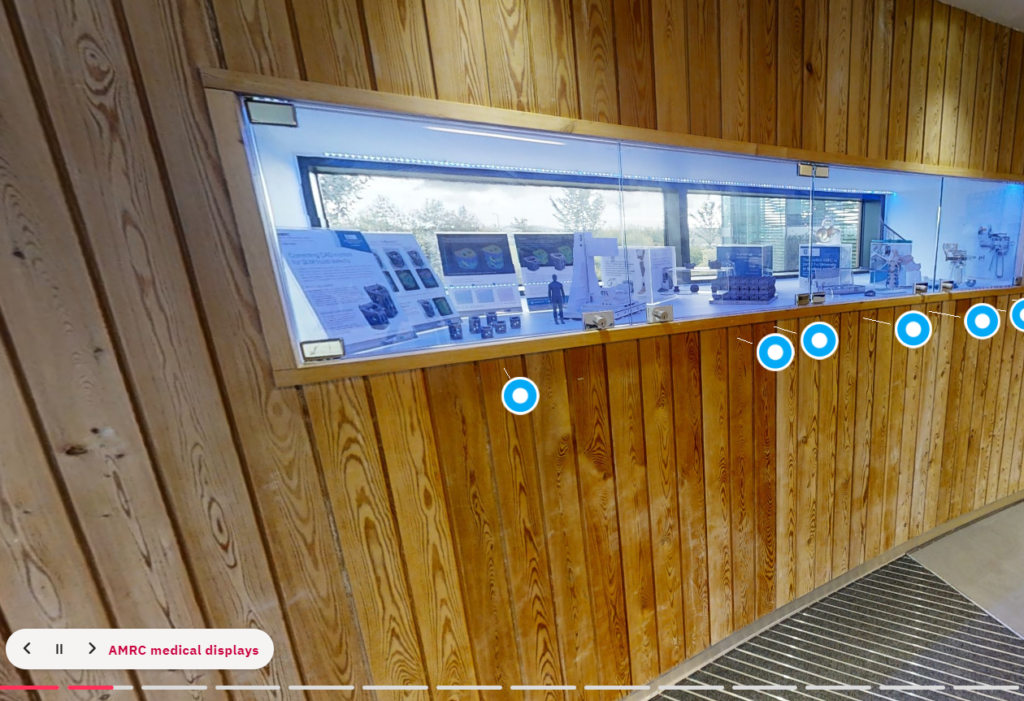
Guided tour
We can create a ‘guided tour’ which allows the viewer to simply press ‘play’ to take them on a pre-defined route – it’s similar to a slide-show
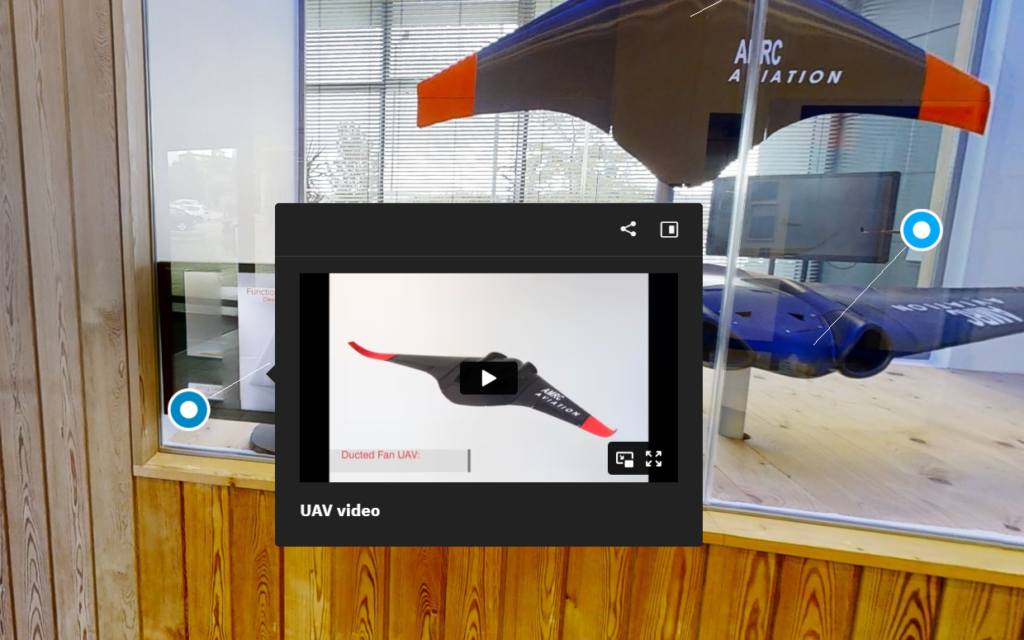
Info-points or ‘tags’
We can attach info-points to almost anywhere within the core virtual tour. These expand when the view clicks on them and can contain any of the following:
- Links
- Titles & text
- Film (hosted on Vimeo or YouTube)
- Images
- GIFs
The colour of the point, and the length of the stem can be defined
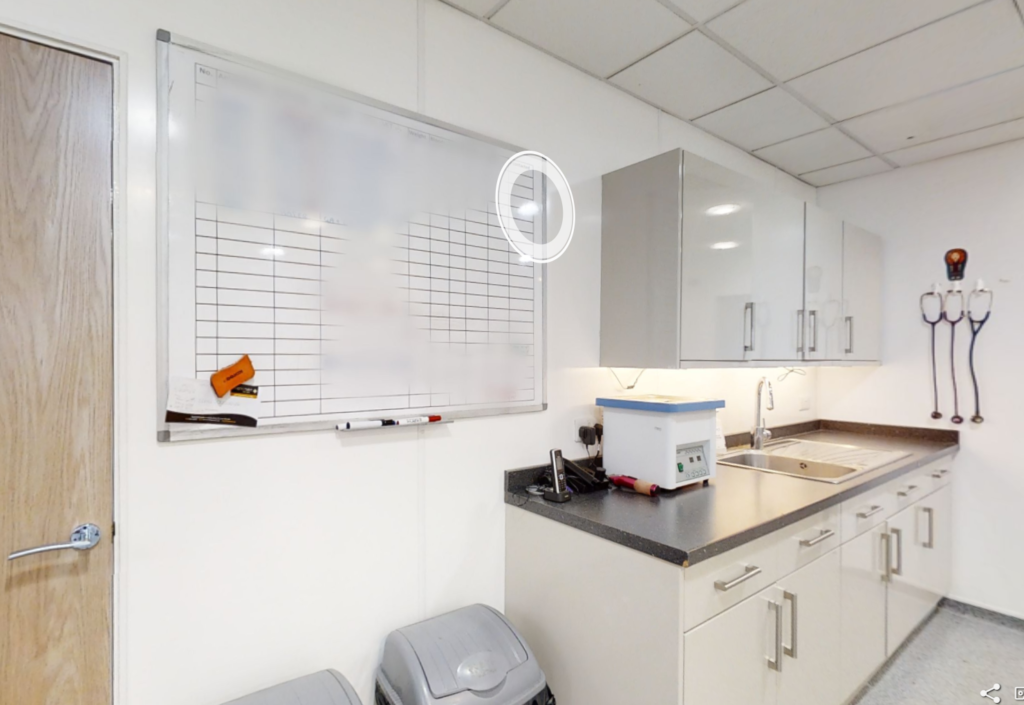
Blurring
Faces or areas within the tour can be ‘blurred’. For example, an invoice on a table that was missed or a notice board
Scan points
What is a ‘scan point’?
A scan point is an individual 360 degree image within the virtual tour.
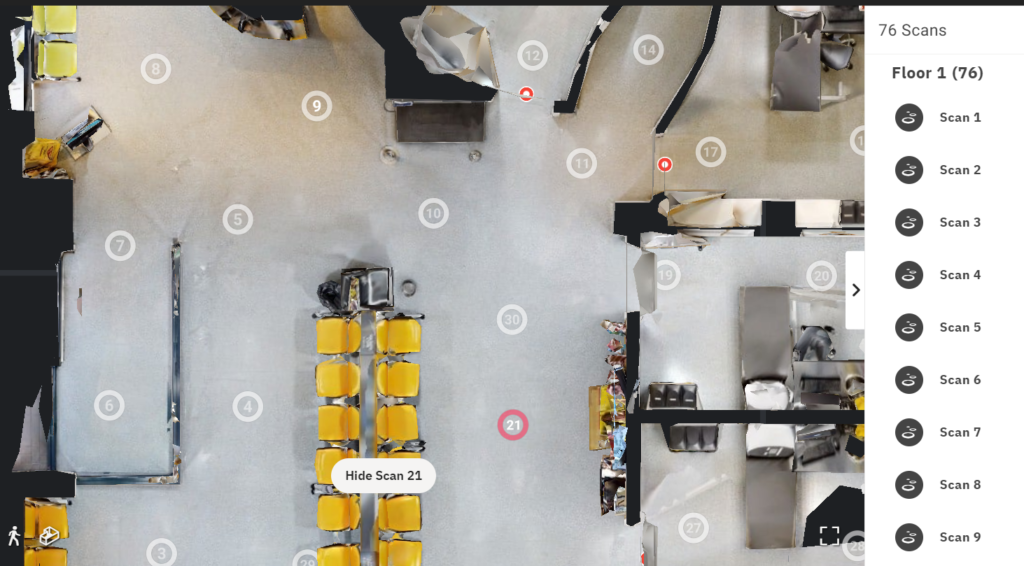
Disabling scan points
Individual scan points can be disabled. This means they will still contribute to the 3D model, but viewers won’t be able to see the individual scan itself. For example, if there is an area of your building that you think looks a bit messy, you can stop people being able to view it, however, the image will still be available to see in the 3D ‘doll’s house’ view. Sometimes extra scans are captured to improve the 3D model but are not required for the virtual tour itself so will be disables
Deleting scan points
A deleted scan point completely deletes the image from the virtual tour. These are not recoverable as deletions of this nature are permanent.
Virtual reality options
Your tour, by default, provides a virtual reality version that can be accessed using a Meta Quest 2, Meta Quest, or Meta Quest Pro. However, this can be disabled if required. The VR version is in the bottom-right corner (see basic controls above)
Still have a question?
Call or WhatsApp Chris on 07930944001